
As for previous Piquet games (here and here), after detailed game logs with all initiative pips and die rolls which are more for my own reference, I also want to post one summary with the story of the battle as it evolved.
You can click on the pictures to see a larger version, as always.
The previous two battles were kind of meeting encounters between retreating troops and the vanguard of the pursuers. This time I wanted to go for a classical linear battle, as outlined in the setting.
So as planned, the first few turns here and here were spent marching the armies on the table in long march columns organized by wings.
The Empire received an extra move card as part of the army characterization, and were allowed to march on the table in two parallel columns. Although the Prussians stole a march on them in turn one with a timely heroic action, overall it began to show soon that the Empire would be deployed into line formation before the Prussians were ready.
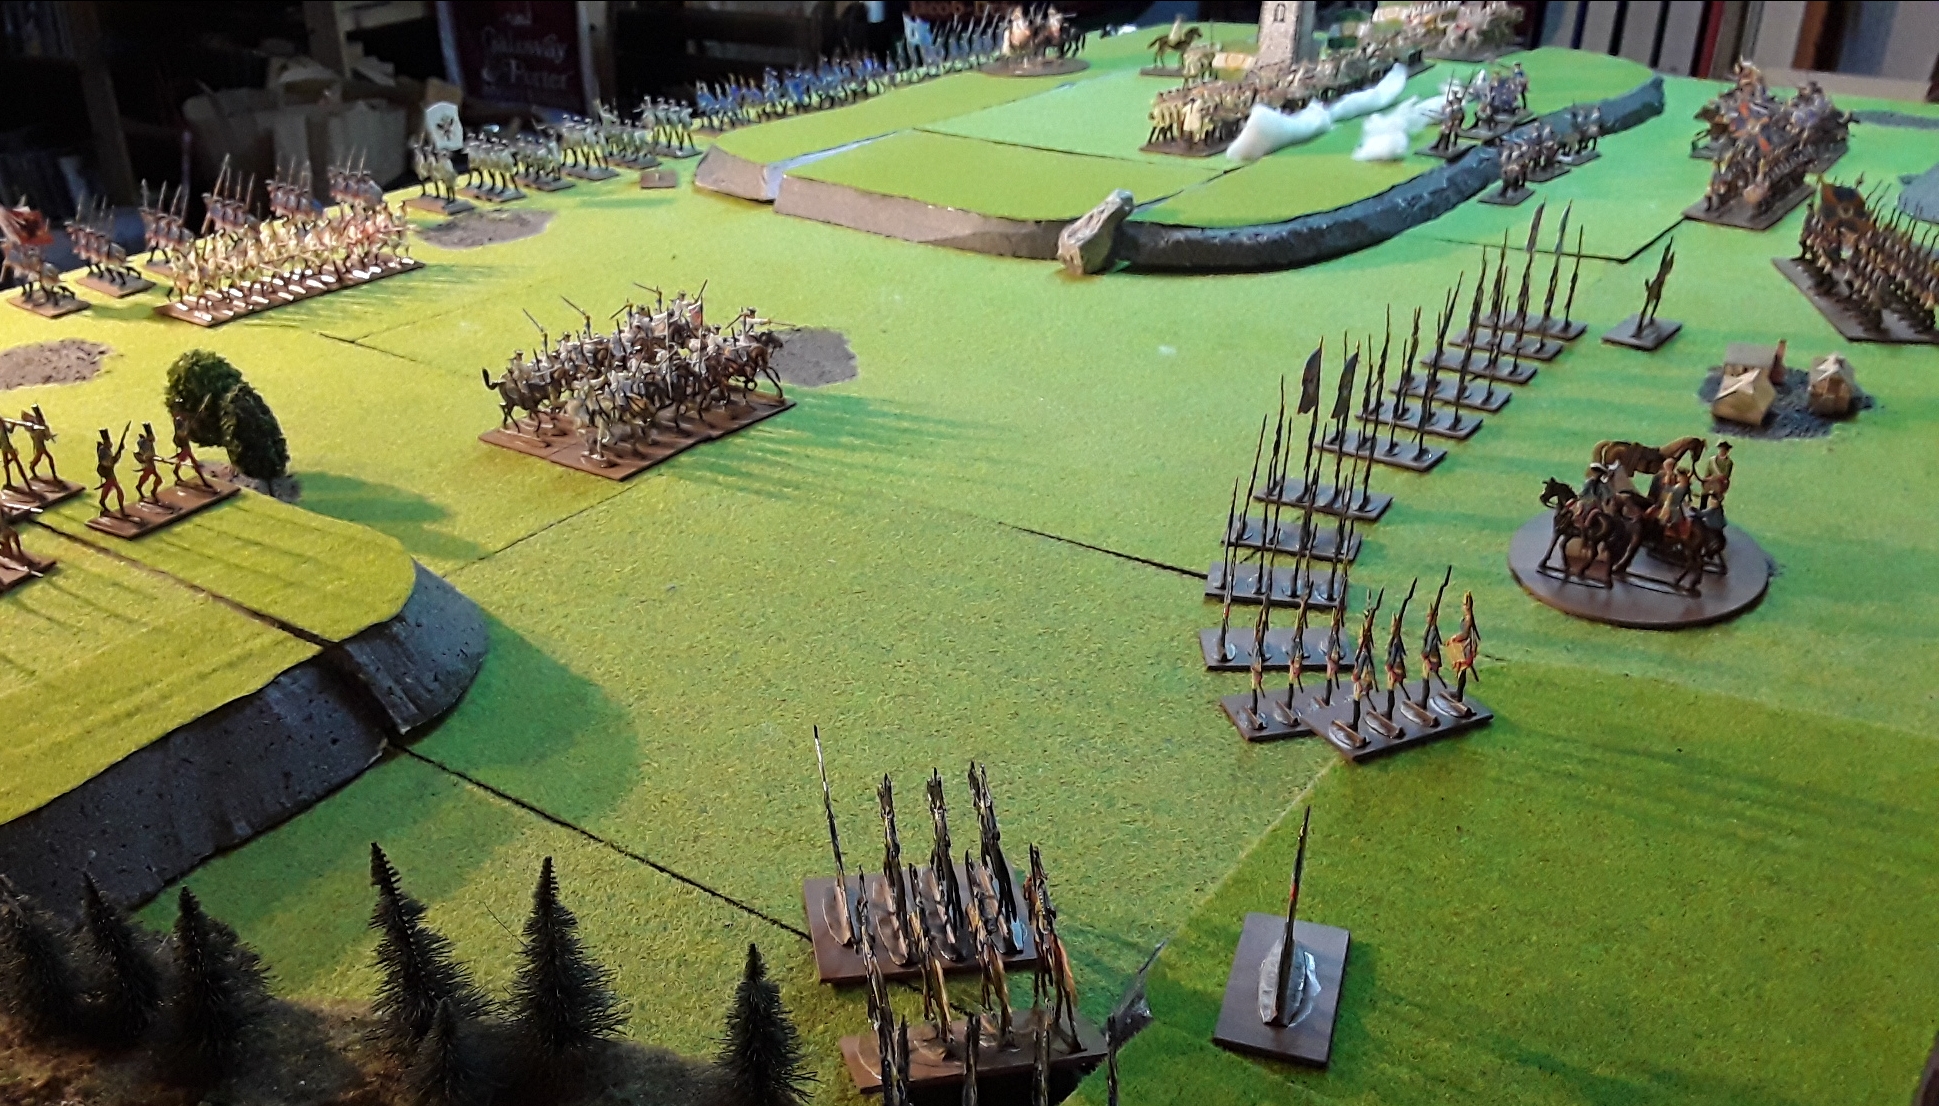 |
| At the end of turn three, the Empire infantry on the right are already starting to form into line formation while the infantry intended for the Prussian center are still marching (dangerously close to the enemy cavalry in front of the villages on their side). On the Prussians far right, the skirmishing Frei infantry keep the deployed line of three Kurmainz battalions in check. |
As you can see in the picture above, the Empire's Ansbach Dragoons are closing in on the Prussian infantry center while they are still in column of route. The Dragoons wasted no time and brushed one Prussian Fusilier battalion off the table with a quick charge.
On the left and in the center, the Empire had formed line before the Prussians did, but got stuck in a fruitless firefight and, eventually, in a fatal attack where two (!) Kurmainz battalions were pushed back by the skirmishing Wunsch Frei-infantry, one of them even routing off the table in total disarray.
 |
| The protracted firefight on the Empire left. Frustrated because they completely failed to impress the opposing skirmishers, the Kurmainz battalions charge and are beaten back soundly by Wunsch. |
In the center (as on the unfortunate left) the Empire is evolving its columns into line formation ahead of the Prussians, with the reformed Dragoons holding the Prussian Hussars at bay.
Things are very crowded, though, as the Empire struggles to develop two mutually supporting lines.
 |
| A view of the Empire center, which is actually getting crowded as the Empire reserves already advance to take pressure of their unlucky left flank units. The Croats have advanced to the tip of the hill on the Empire right. |
 |
| The situation after the cavalry clash on the Empire right flank |
 |
| Prussian left wing after the cavalry fight - Ansbach Dragoons are runnimg off the table at half strength, Malachovsky Hussars have been wiped out by fire from the combined Kurmainz and Ernestinisch Sachsen Grenadiers. |
 |
| The skirmishing Wunsch Freikorps watch their opponents turn from "line" into "run" formation |
The resulting gap in the Empire's left flank, and even more in its depleted morale chip pool, essentially forces the Empire to retreat despite all of its valiant efforts and local victories.
 |
| Empire troops are beginning to retreat, Prussian infantry advances cautiously as the Empire center still has full strength battalions firing at them. |
Learnings for future games
- cav units (not just elites) would have counted as two for army size determination - with my growing army sizes this is getting relevant as armies will get over the minimum three card allotment
- cavalry charging skirmishers does not have to wait for cav move, they can attack on an (opportunity?) pip
- movement in III/IV also allows all units more than 12" from an enemy to move (and all movement cards allow formation changes to such units). This is important if I play out the marching into battle.
Keine Kommentare:
Kommentar veröffentlichen