
In my last workbench post, I showed a few snapshots of current work in progress. This time I want to illustrate the steps each flat mini takes from the box to the final tabletop unit.
Here is a picture of the minis as they march out of the cardboard box delivered by Grünewald Zinnfiguren:
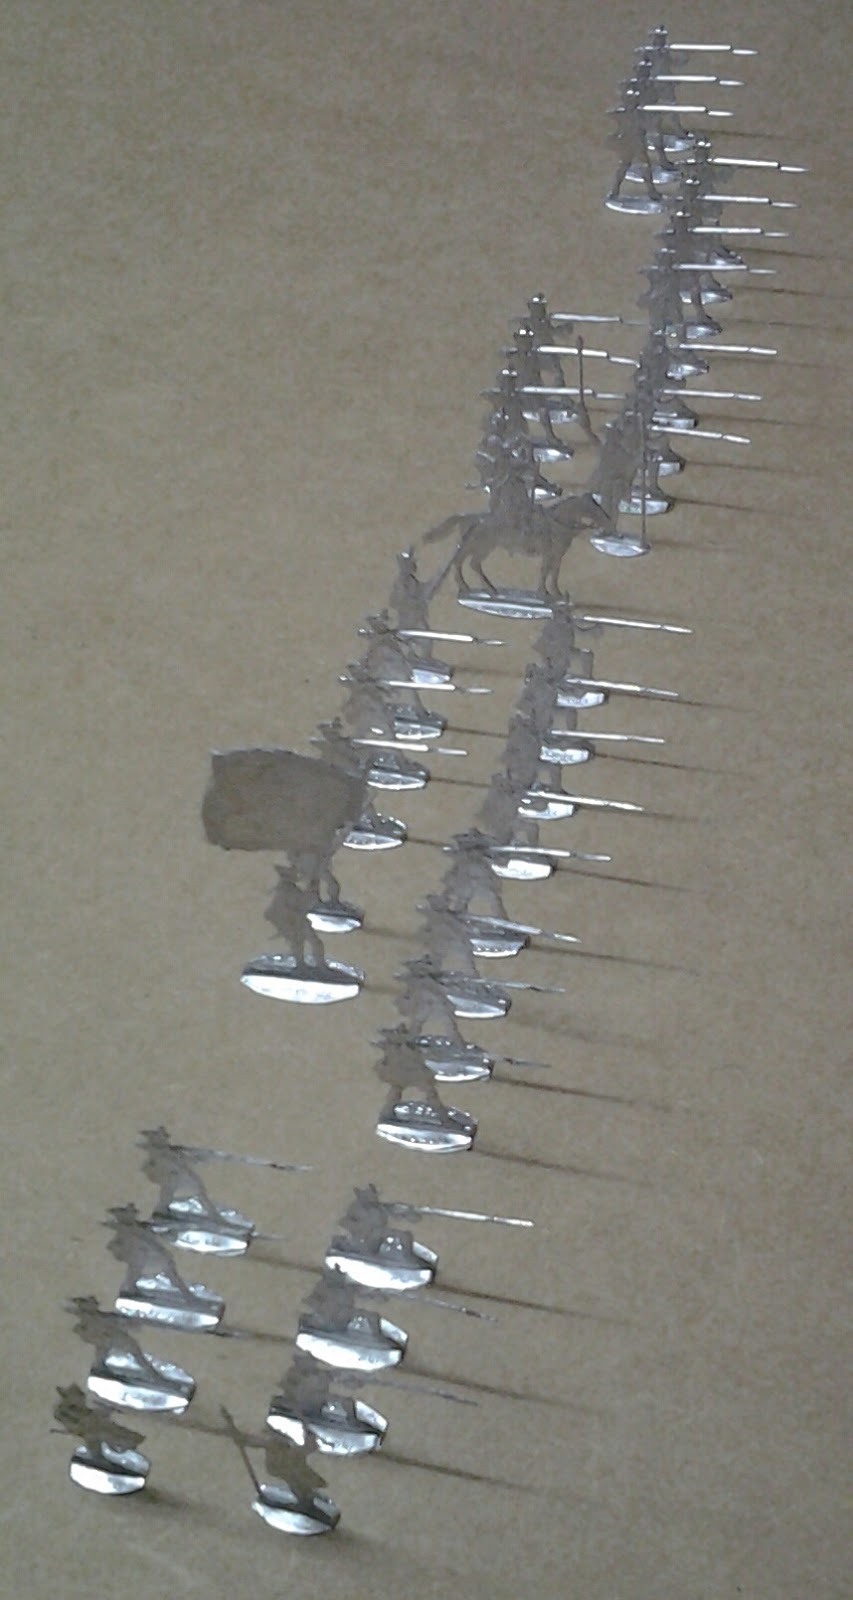 |
| Austrian infantry, firing (Grünewald pack 165 "dt. Füsiliere im Gefecht, feuernd"). Test setup in two bataillons, with gaps in all positions where I need to order additional minis to fill the ranks. |
Although Grünewald does sell individual minis (at a slight premium) it is always best to start with the unit packs. In my case I need 24 minis per bataillon, so I can build two infantry bataillons out of one box of 37 minis (illustrated above) when I add a handful of single ordered individually, like additional flag bearers and officers. The mounted officer included in the infantry boxes can be used as division commander, general staff etc.
Cavalry boxes have 17 minis each, so they are sufficient for one unit with 16 minis each, without the need to add anything (in fact, one mini is left over for other uses like army staff etc.).
For the Austrians this was particularly tricky, because they have one kneeling and two standing poses to support the normal Austrian three-rank formations, but I will use them in two ranks like all other tabletop units for Shako. So I needed to figure out whether the mix of poses in the unit pack actually supports getting to two batallions by just adding minis (the good news: it does work).
In the next picture you can see the various stages the minis go through.
 |
| Top to bottom: 1. blanks in the cardboard box from shipping - 2. first base layer (protective layer) - 3. second base coat (white) - 4. half painted. |
For the actual painting I use artist's watercolors. You can see the box in the photo below. These colors work perfectly with white base coating, because for "raised" areas they can be applied a little thinner with the white shining through for highlights, and there is no need to apply multiple layers of color anywhere. They also allow for very fine freehand and easily provide bright colors, even in light tones like yellow or sky blue that are hard to do with acrylics on dark base coat.
I only use acrylics very occasionally for silver and gold flag or uniform embroidery (I use water color tones of grey for other metals), and acrylic white to clean up fine details on top of water color painted areas.
The beauty of working with these colors is the extremely small amount of time and space needed to set up. I often need to use short, twenty to thirty minute chunks of time for painting. With colors like acrylics or oil which require individual containers per color, palettes, thinners etc. the time to set up and clean away things is too long for me. It takes me about two minutes to take the material shown below out of storage and start painting...
I learned this technique at the Munich Klio meetings of flats collectors in the early nineties.
 |
| Prussian Hussars in process, with the water colors and my main reference for Prussian SYW unifirms (Bleckwenn, pocket edition) on top. |
Once the minis are painted, they get to dry for at least twelve hours before they get a solid (shiny) coat of spray varnish to pretect them from humidity (these colors remain water soluble at all times).
I have already shown how the minis are based for tabletop gaming here. I'm not sure yet whether I'll start to flock the bases with some static grass, so far I actually like the simple brown paint job on the bases because it doesn't distract from the minis themselves with their colorful uniforms (I have found that green bases visually block out a lot of the uniform colors).
To see what they look like on the tabletop you can take a first look here.
For comparison with more conventional painting methods, you can check out the incredible historical dioramas in the Plassenburg flats museum (I went to elementary school in Kulmbach, that's where I got infected with the flats bug...)
Keine Kommentare:
Kommentar veröffentlichen